Sports Broadcasting: Record a Soccer Game Like a Pro
Ever wondered why some match videos look crisp while others are shaky and hard to follow? The secret isn’t magic—it’s the right setup and a few practical habits. Whether you’re a fan wanting to capture a local derby or a budding commentator, these tips will help you get clean, replay‑ready footage without breaking the bank.
Pick the Right Recorder
First things first: choose a reliable recorder. A digital video recorder (DVR) is the go‑to for most fans because it lets you pause, rewind, and fast‑forward live action. Look for a model with at least 1080p resolution and multiple HDMI inputs if you plan to switch cameras. Some modern DVRs even let you stream the feed to a phone or tablet, so you can keep an eye on the recording while you’re in the stands.
If a DVR feels too pricey, a high‑quality camcorder with SD card storage works just as well. Make sure it has good low‑light performance—stadium lighting can be uneven, and you don’t want grainy clips after the final whistle.
Set Up Your Cameras Smartly
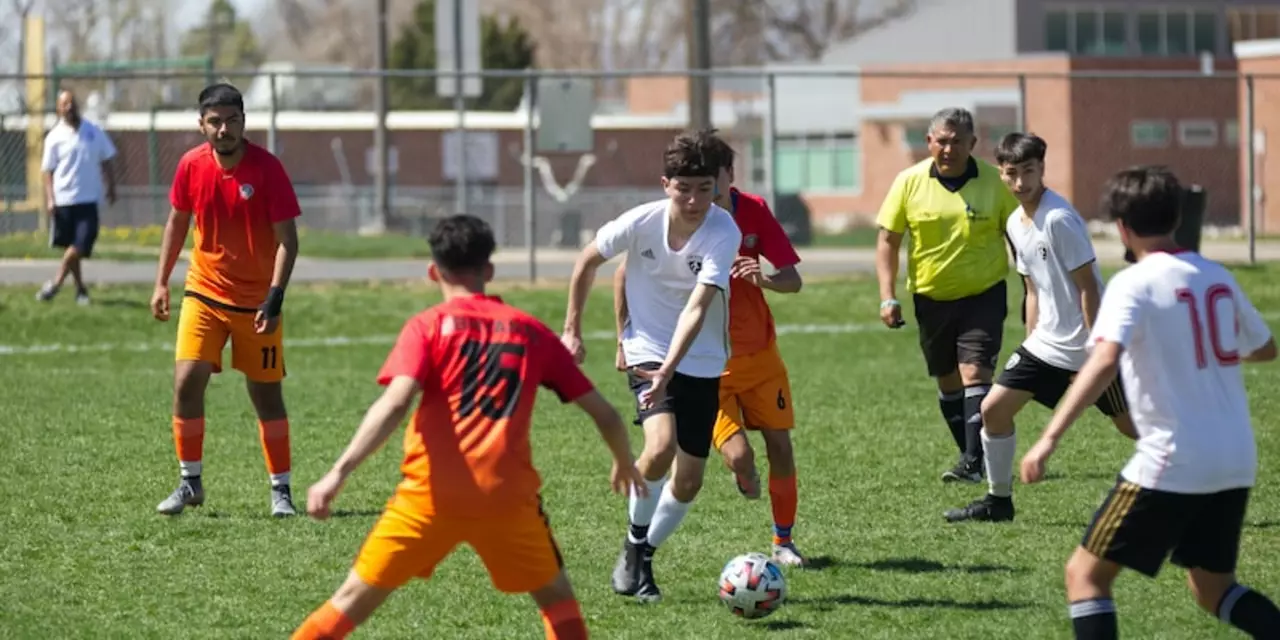
One camera can capture the action, but two or three give you angles that make a replay feel like a TV broadcast. Position a wide‑angle lens behind one of the goals for a full‑field view, and place a telephoto lens near midfield to zoom in on key plays. If you can, add a third camera at the opposite end for a balanced perspective.
Mount each camera on a sturdy tripod or a stable platform. A wobbling shot not only looks unprofessional, it can ruin a crucial goal‑mouth view. Tighten all locks before the match starts and do a quick test run to check focus and framing.
Don’t forget audio. A separate external microphone captures crowd chants and commentary better than the built‑in mic on most recorders. Clip it to a pole near the sideline, but keep it out of the players’ way.
Once everything’s in place, do a final check of the DVR’s storage. A typical 2‑hour match at 1080p needs around 10‑12 GB, so a 64 GB card gives you plenty of headroom for multiple angles and extra footage.
Now you’re ready to hit record. Start the DVR a few minutes before kickoff; this gives you a buffer to sync the cameras later in editing. As the game unfolds, keep an eye on battery levels and storage space. If a camera’s battery dips low, swap it out during halftime to avoid losing any action.
When the final whistle blows, back up the files immediately. Transfer them to a computer, rename each clip with the date, opponent, and camera angle (e.g., "2025‑09‑25_Aberdeen_vs_Rangers_Wide.mp4"). This naming system saves you hours when you start editing.
Editing doesn’t have to be fancy. Simple software like iMovie or Windows Movie Maker lets you trim clips, add slow‑motion replays, and stitch angles together. Sync the videos using the stadium’s crowd noise as a reference point—most editing tools have an auto‑sync feature that does the heavy lifting.
With a clear workflow—from the right recorder and camera placement to quick backups and basic editing—you’ll produce match videos that look and feel professional. So next time you’re at Pittodrie or watching from home, you’ll have a reliable way to capture every stunning goal, brilliant save, and dramatic near‑miss. Happy recording!